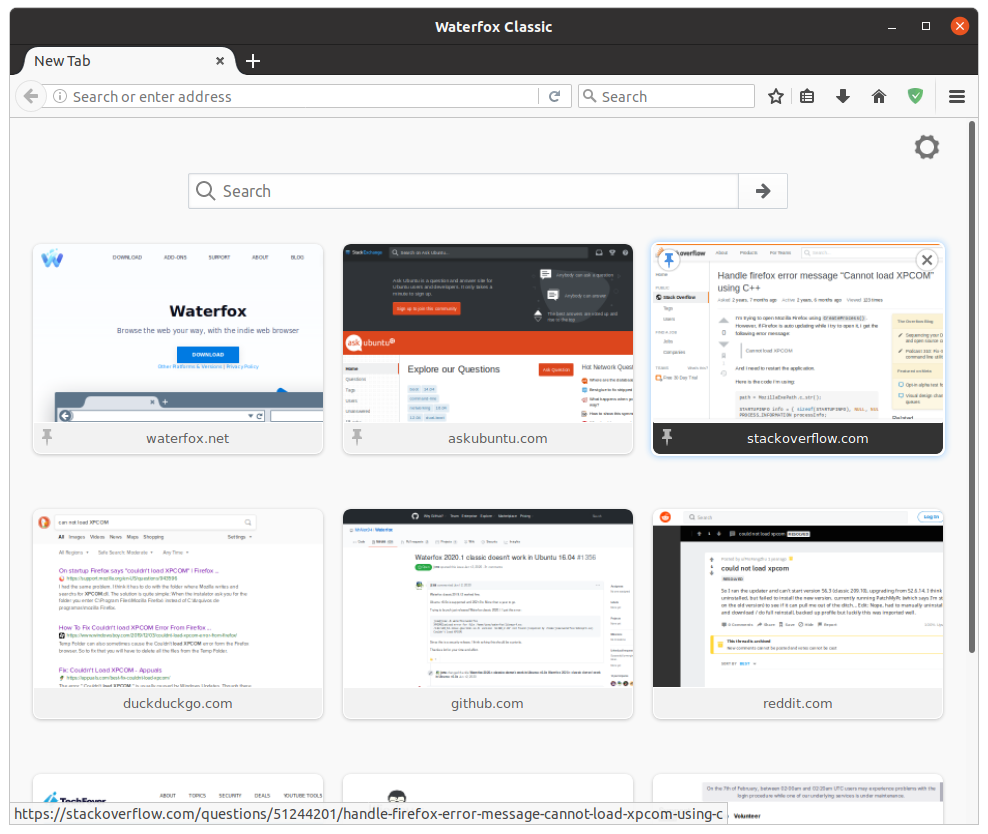
The problem: Getting an XPCOM error after upgrading Waterfox.
I recently upgraded my Waterfox version. I first had to close down all running instances of Waterfox, and delete it from
/usr/lib/. I then downloaded the classic version of it and extracted it to my /usr/lib/ directory and hoped that everything would work fine but I was wrong. For some reason Waterfox would not launch when I clicked the icon so I popped open a terminal and navigated to /usr/lib/waterfox-classic to run waterfox.
Thats when I got the error: can not load XPCOM.
So I searched around and it seemed like a lot of waterfox users were having the same issue;

There’s still an open issue on github about this;

Things I tried at first - Download and installing a fresh copy of waterfox
I actually popped open a terminal and ran;
$ gdb waterfox
This was very helpful because it allowed me pinpoint more or less where the problem was coming from.
You might want to start there in case this turns out not work for you.
Anyway, the results indicated that there was something wrong with /usr/bin/waterfox.
What came to my mind was, this is most likely a linking issue.
So the first thing I did was to completely remove waterfox from my system. Fortunately I could do this because I had disabled remembering history on waterfox.
$ sudo apt-get purge --autoremove wafterfox
I then made sure that there were no hanging references to waterfox by running the following command;
$ whereis waterfox
And removed /usr/bin/waterfox.
Then it was on to downloading and installing waterfox.
Step 1: Download Waterfox
There are two versions of waterfox listed on their main website.
- Third generation
Waterfox; includes latest in web tech from mozilla contributions. - Waterfox classic; for those who just want a basic version of
Waterfox
I went with the classic version of Waterfox;


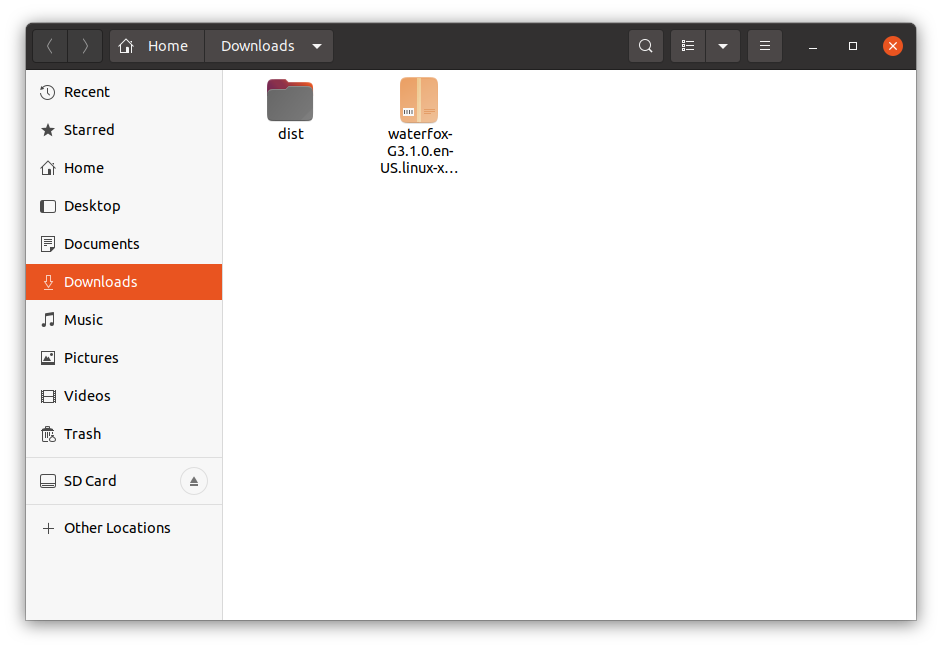
Step 2: Extract it to /usr/lib/
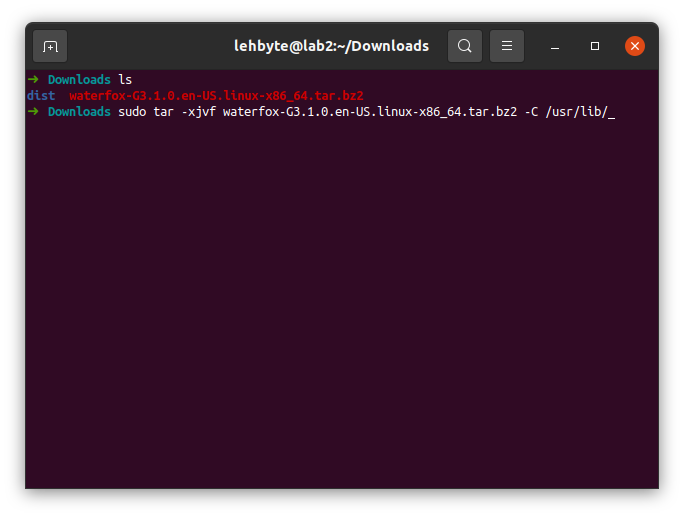
/usr/lib is a directory exclusive to root users so don’t forget to prepend your command with sudo.
As the screenshot shows I extracted the contents of the archive to /usr/lib/
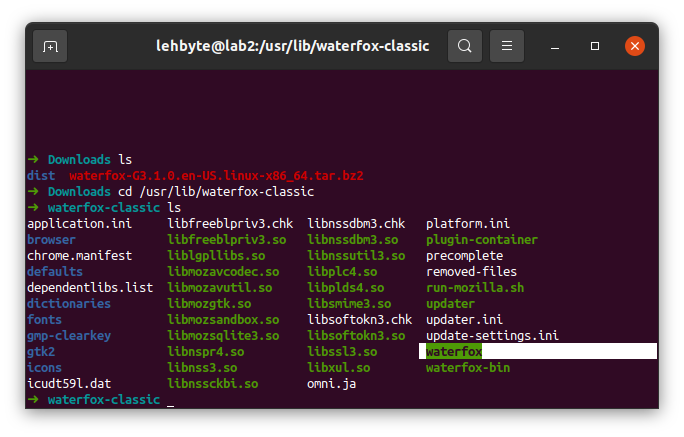
Navigate there;

Here are the contents;
Step 3: Create a symbolic link in /usr/bin/
Create a symbolic link in /usr/bin that points to the waterfox executable highlighted in the image above.

Now you can actually be in any directory and launch waterfox by simply typing $ waterfox but
it becomes inconvenient to do that all the time so the next thing to do would be to create an icon for waterfox.
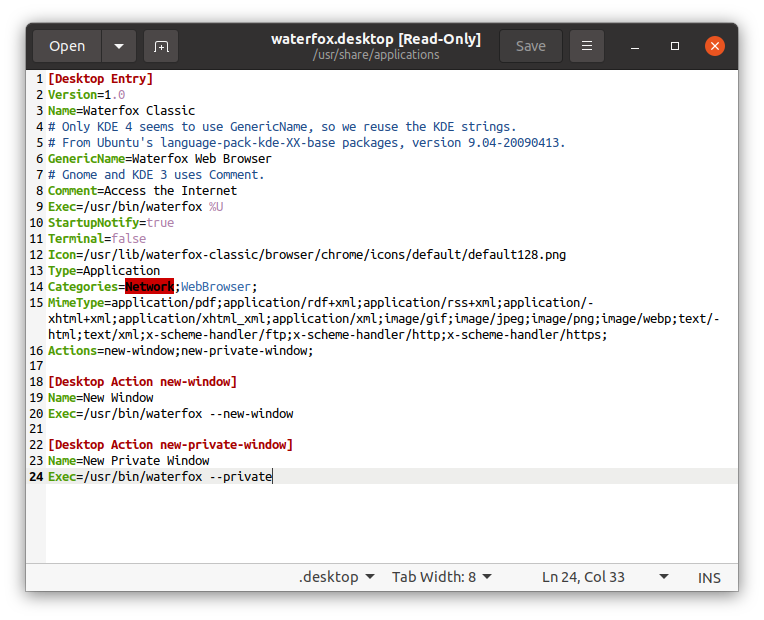
Step 4: Create a desktop entry for Waterfox
Navigate to /usr/share/applications to create an entry for waterfox.
If you’re installing waterfox for the first time then you most likely will not have that icon.
Since I had vivaldi, there was already an entry for vivaldi-stable.desktop.
I basically just copied and remaned it to waterfox.desktop;
$ cp vivaldi-stable.desktop waterfox.desktop
I then changed the contents and made sure that the Icon and Exec variables/tags were assigned to the
correct locations.
Step 5: Test
Finally search for Waterfox in the dashboard and launch it;
![]()
Here is Waterfox launched.
